Overview -
Here is a step-by-step guide to help you manually configure Plesk mail in Outlook.
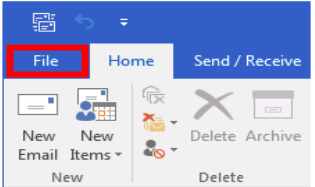
Step 1 - Open Outlook and go to ‘File’.
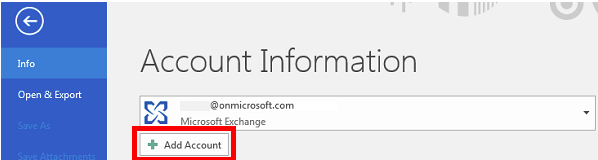
Step 2 - Click ‘Add Account’
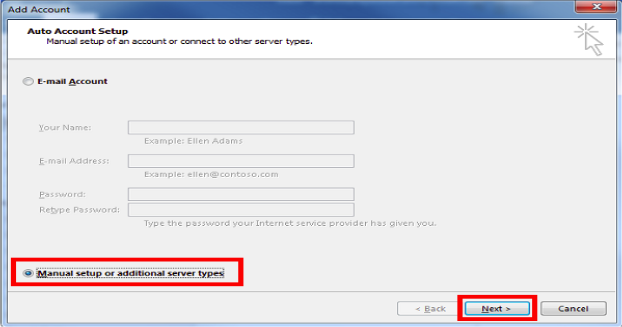
Step 3 - Select ‘Manual setup or additional server types’ and click ‘Next’.
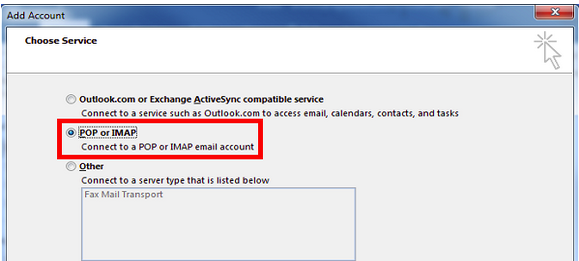
Step 4 - Select ‘POP or IMAP’ and click ‘Next’.
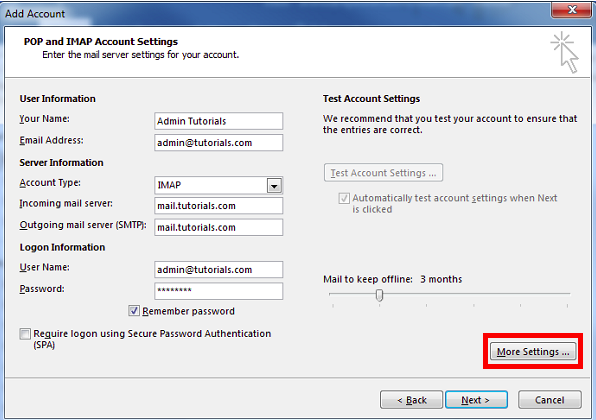
Step 5 - Enter your User and Server information and click on ‘More Settings’ if you need to configure other Ports for incoming and outgoing mail server than the defaults.
If using the default ports is okay, click next and skip to Step 7.
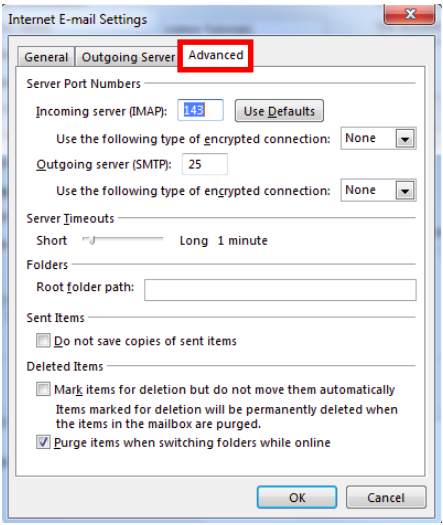
Step 6 - Configure custom ports for Incoming and Outgoing mail servers in the ‘Advanced’ tab.
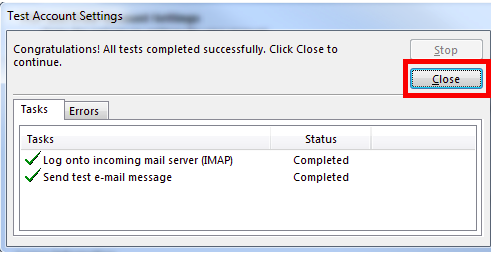
Step 7 - Wait for the account settings test to complete and click ‘Close’.
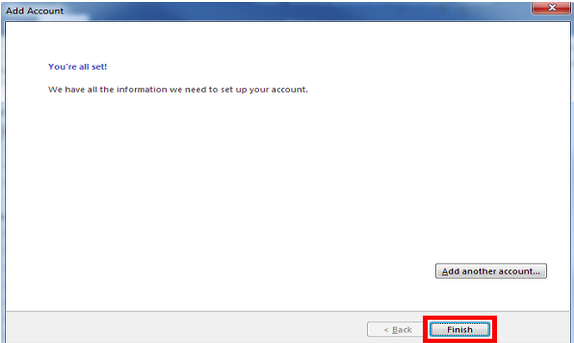
Step 8 - Click ‘Finish’ to exit the wizard and start using your email account.
Please feel free to open a support ticket if an issue still persists.